Wednesday, 28 September 2016

Tilly and the Buttons Rosa Dress

This is a pattern I have been waiting for! When I got the preview email about Rosa I knew it was a pattern I was going to want to buy - and I bought it the moment I got the email saying it was available.


It's the first Tilly and the Buttons pattern for awhile that doesn't have a gathered waistline - which I really don't like the feel of on me so I was super excited to do this one and a shirt dress is something that I've wanted to have a go at for ages.


I found the perfect lightweight (4 oz) indigo denim from Fabric Godmother, which wasn't cheap but well worth the money.

The pattern is beautiful with lovely princess seams and lends itself to some nice customisation, pockets/ no pockets, how much topstitching to do, contrast facings, fun buttons etc etc. I chose to do my facings in this mustard yellow fabric with dog bones on that I had lying around. It was a Fat quarter that I had picked up somewhere and did mean I  had to put a seam 3/4 way down the button stand facing but it didn't matter too much. I also decided on only a single line of topstitching as two looked over the top on the light weight denim and I left it out all together on the collar stand and just handstitched the facing down as it spoilt the look of the contrast fabric.


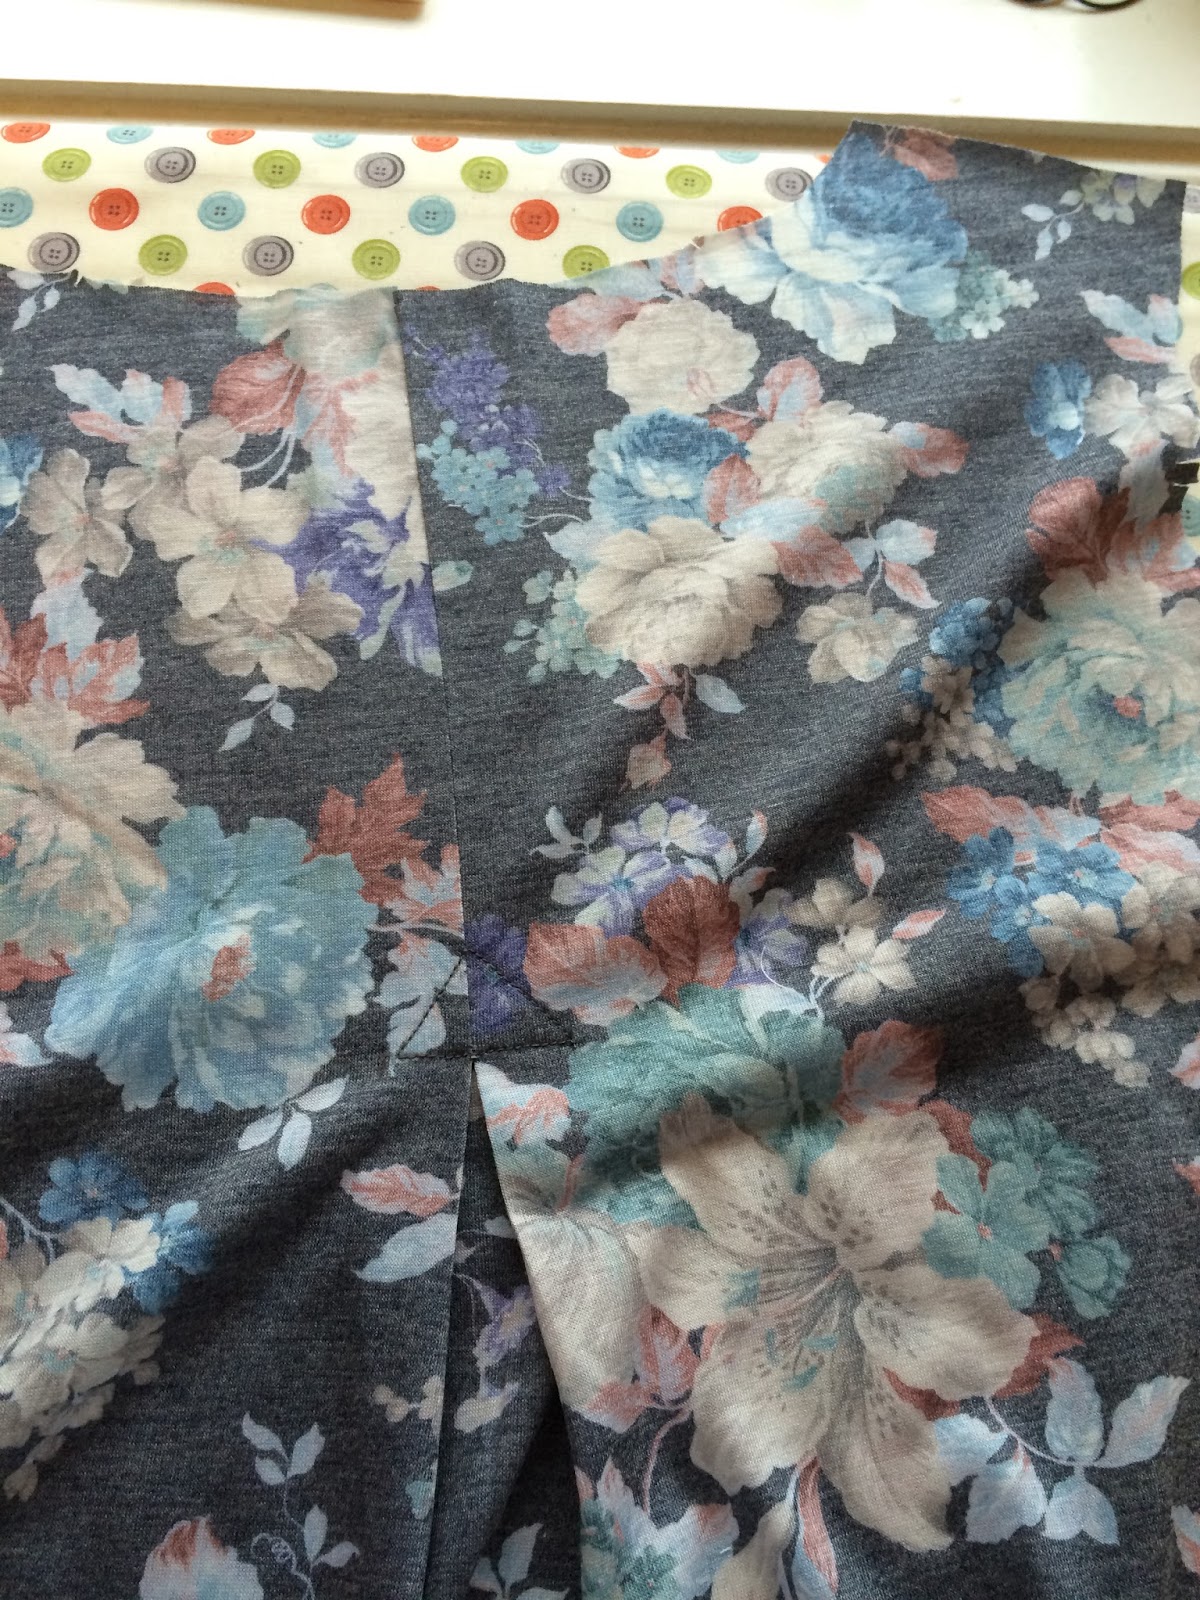
The dress went together really well and the instructions were, as always simple to follow. The back yoke was a bit fiddly but with going slow and plenty of steam to iron it out it came together in the end. I didn't actually do flat felled seams but overlocked everything then topstitched to keep the seams flat.


Really pleased with the finished dress, it's perfect for wearing with tights and boots as we get into autumn. I will definitely be making another of these, perhaps a shirt length in some medium weight cotton for winter.

Tilly and the Buttons Rosa Dress


Saturday, 17 September 2016

Agnes/Coco pattern hack

Since starting to make jersey tops I have made about a dozen of Tilly and the Buttons Agnes and Coco. I live in Jersey tops and both are really easy to make and suitable for slightly different types of stretch fabric.

Agnes works best in fabrics with quite a lot of stretch like these two made from ribbed Jersey.  I like the low scooped neck line and slim sleeves that this top has too.


In contrast Coco is a slightly looser top and as such doesn't need quite so much stretch it even works in fleece material (I have made one in a fleece although I haven't got any pictures, mostly because I only wear it to snuggle up on the sofa in my PJs!) There are two neck options with Coco and it can also be made as a dress version. I alway have to slim down the sleeves on this top though as they come up quite baggy.


For my latest top I wanted to add a pleat detail to the back of my top. The Jersey fabric I found had very little stretch in it so I knew it wouldn't work particularly well as Agnes but I really wanted the lower T-shirt style neckline of that particular top so I set about constructing a bit of a mash-up!


To cut out the neckline, I first used the Coco pattern for the front laying the piece on the fold of the fabric. I then flipped the cut out piece and attached the Agnes front, lining up shoulder seams and centre front.  I also cut out the neck binding piece from the Agnes pattern and followed the instructions for finishing the neckline from this pattern.


The rest of the pattern piece (back and sleeves) were all from Coco although I added two inches to the centre back piece to allow me to put in my pleat. The back piece did not need adjusting for my altered neckline as it is almost exactly the same shape as the Agnes pattern.


Before sewing up the top I constructed the pleat by measuring and drawing (with a magic Frixion pen) a line 2 inches from the centre back fold. I wanted my pleat to start just below the bottom of the armhole so my line was 7 inches long from the neck edge. I then stitched this line and pressed the fold open. 


 The fold was secured with a triangle of topstitching sewn from the right side of the fabric.


The rest of the top was constructed as the pattern outlined with the slight change to account for the different neck binding. I finished off the sleeves and hem with a twin needle stitch and did most of the seams on my overlocker so it went together pretty quickly and super neatly. The finished top has already been worn and washed twice  -  it's definitely a new favourite.

Coco Agnes FrontCoco Agnes Pleat back


Monday, 12 September 2016

Ruby Ruby Ruby Ruby!

Ah ah ah ah ah ahhhhhhhh! (i always end up singing the Kaiser Chiefs' song when wearing a Ruby!)

I know that there are a million posts about this Simple Sew pattern but want to add one more. In particular because my little sister has made about a variety of them in so many different fun fabrics and I wanted to show off her mad skills!!

This was my very first ruby with some really soft viscose fabric from the market.


The pattern has been talked about endlessly but it really is as good as everyone says.

It's super quick (Emma can make them in about 90 mins from cutting out to putting on) and super easy. 


The fit is really flattering with darts to shape the front bodice and a flared out circle skirt that's perfect for twirly dancing. Although it is an endless process to hem!
Big Circle Skirt

It can be made in a whole range of fabrics (including old bed sheets like my sister's flip flop version.) I really like it in things with a bit of a drape but stiff cottons work too.


Ruby can be modified to make it suitable for a variety of occasions, dressing up and down and I have added capped sleeves to some of mine to make them suitable for dinner events. There is also a pattern hack to modify the back to a racer style for a bit of variety.


Dinner night ruby
Wedding Ruby


I really do like this pattern and the rest of my family seem to be as keen! This weekend we celebrated my Grandma's 80th birthday and we all wore a Ruby dress for the party - I think we might constitute a fan club!

A family of Rubys!
And because I keep singing the song - I have put all the pictures of our Ruby dresses together in this fun clip.....

Click on the picture of Emma's dresses to go to the video


Tuesday, 6 September 2016

Men's shirt


Finally got around to writing this post about my unselfish sewing project and my first ever attempt at making a shirt!

This project came about because I saw this lovely fabric on Leicester market, it's a really soft cotton shirting that is apparently Paul Smith fabric. It is certainly really nice to work with and, I am told, to wear. I looked around for a good pattern to sew a shirt for my husband in said fabric and decided upon the Negroni shirt by Colette patterns. 


After some fun measuring up I set out to cut out the pieces.


First challenge - my fabric has stripes on it so off to the wardrobe to fish out a shirt to examine stripe directions on cuffs, collars, yoke etc. Only had to recut the cuffs due to a silly mistake in laying out the pieces.

Stripes across on collar
Stripes across yoke


Stripes down on body


Sleeve placket and cuff!


The pattern was, like other Colette patterns, relatively easy to follow. I took my time and followed each step of the process to achieve a really neat finish. I also kept hold of the RTW shirt to keep checking positioning and what top stitching to do. There were a lot of firsts in this pattern which kept it very interesting, putting the sleeve placket in took a lot of thinking and attaching the inner yoke required some folding and re-folding although the diagrams in the booklet were pretty helpful. There is also a really good blog post by Jamie at Male Devon Sewing about making shirts - thanks!! I really like the finish of flat-fell seams too which I hadn't tried before.


First trying on - with weird hair!


The shirt has come out waaaay better than I expected for a first attempt and I will definitely be attempting another. 


The Negroni itself is a little bit more of a relaxed shirt than I was after and I did make a couple of modifications. Including topstitching the button bands to make a faux button stand - the shirt has a front facing instead. I also did some extra topstitching along the neckline and next time I would like to try adding a collar stand.
David seams pretty pleased with the finish - shame I couldn't get a good picture of him wearing it, I will keep trying.

Saturday, 3 September 2016

Briar Variation

So,  I have recently started working from home a couple of days a week and the extra two hours (at least, probably more when you account for faffing time too) gained from not having to drive into work on these days are very productive....

The latest project I have completed is this modified Megan Nielsen Briar pattern. I really wanted a lightweight jumper and I found this grey knit fabric on Leicester market the other day for only £2 so thought I'd have a go at editing the pattern.


Firstly - this material was an absolute nightmare to so with!! it feels really nice because it is so soft and drapey but it catch on any bit of rough skin on your hands and absolutely does not want to do what it's told. 

I nearly gave up several times.


To get the fit I wanted I used the short version of Briar but cut straight across at the longest part of the back hem for both front and back. I also added about 1 inch to the back width (because I was going to put in a pleat but forgot, however, it came out a nice size anyway). I also wanted a much higher neckline on the front I added this mostly by guess work.


To finish the neckline off I did't use binding as the pattern suggests but overlocked some stay tape to the wrong side of the front and back pieces before joining the shoulder seams. After sewing up the shoulders I then turned over the neck edge by about 0.5 inches and sewed a single line of top stitching. This gave a nice stable and neat finish to the neck. 


I attached the sleeves following the pattern but altered the side seam to stop 3 inches before the hem. I overlocked the unfinished edges of the hem and the open side seams before folding under 0.5 inches and using a twin needle top stitched around the hem and side seam openings. The sleeves were also finished off with twin needle top stitching.


I like how the top has come out although as I said it was a bit of a headache to sew at times. It's not the best finished off garment in my wardrobe but it's perfect for throwing on over a t-shirt as we are heading to autumn. It has also left me with a nice pattern design to try out again with some other material, maybe I will add a patch pocket next time too.