Showing posts with label Tilly and the Buttons. Show all posts

Wednesday, 28 September 2016

Tilly and the Buttons Rosa Dress

This is a pattern I have been waiting for! When I got the preview email about Rosa I knew it was a pattern I was going to want to buy - and I bought it the moment I got the email saying it was available.


It's the first Tilly and the Buttons pattern for awhile that doesn't have a gathered waistline - which I really don't like the feel of on me so I was super excited to do this one and a shirt dress is something that I've wanted to have a go at for ages.


I found the perfect lightweight (4 oz) indigo denim from Fabric Godmother, which wasn't cheap but well worth the money.

The pattern is beautiful with lovely princess seams and lends itself to some nice customisation, pockets/ no pockets, how much topstitching to do, contrast facings, fun buttons etc etc. I chose to do my facings in this mustard yellow fabric with dog bones on that I had lying around. It was a Fat quarter that I had picked up somewhere and did mean I  had to put a seam 3/4 way down the button stand facing but it didn't matter too much. I also decided on only a single line of topstitching as two looked over the top on the light weight denim and I left it out all together on the collar stand and just handstitched the facing down as it spoilt the look of the contrast fabric.


The dress went together really well and the instructions were, as always simple to follow. The back yoke was a bit fiddly but with going slow and plenty of steam to iron it out it came together in the end. I didn't actually do flat felled seams but overlocked everything then topstitched to keep the seams flat.


Really pleased with the finished dress, it's perfect for wearing with tights and boots as we get into autumn. I will definitely be making another of these, perhaps a shirt length in some medium weight cotton for winter.

Tilly and the Buttons Rosa Dress


Saturday, 17 September 2016

Agnes/Coco pattern hack

Since starting to make jersey tops I have made about a dozen of Tilly and the Buttons Agnes and Coco. I live in Jersey tops and both are really easy to make and suitable for slightly different types of stretch fabric.

Agnes works best in fabrics with quite a lot of stretch like these two made from ribbed Jersey.  I like the low scooped neck line and slim sleeves that this top has too.


In contrast Coco is a slightly looser top and as such doesn't need quite so much stretch it even works in fleece material (I have made one in a fleece although I haven't got any pictures, mostly because I only wear it to snuggle up on the sofa in my PJs!) There are two neck options with Coco and it can also be made as a dress version. I alway have to slim down the sleeves on this top though as they come up quite baggy.


For my latest top I wanted to add a pleat detail to the back of my top. The Jersey fabric I found had very little stretch in it so I knew it wouldn't work particularly well as Agnes but I really wanted the lower T-shirt style neckline of that particular top so I set about constructing a bit of a mash-up!


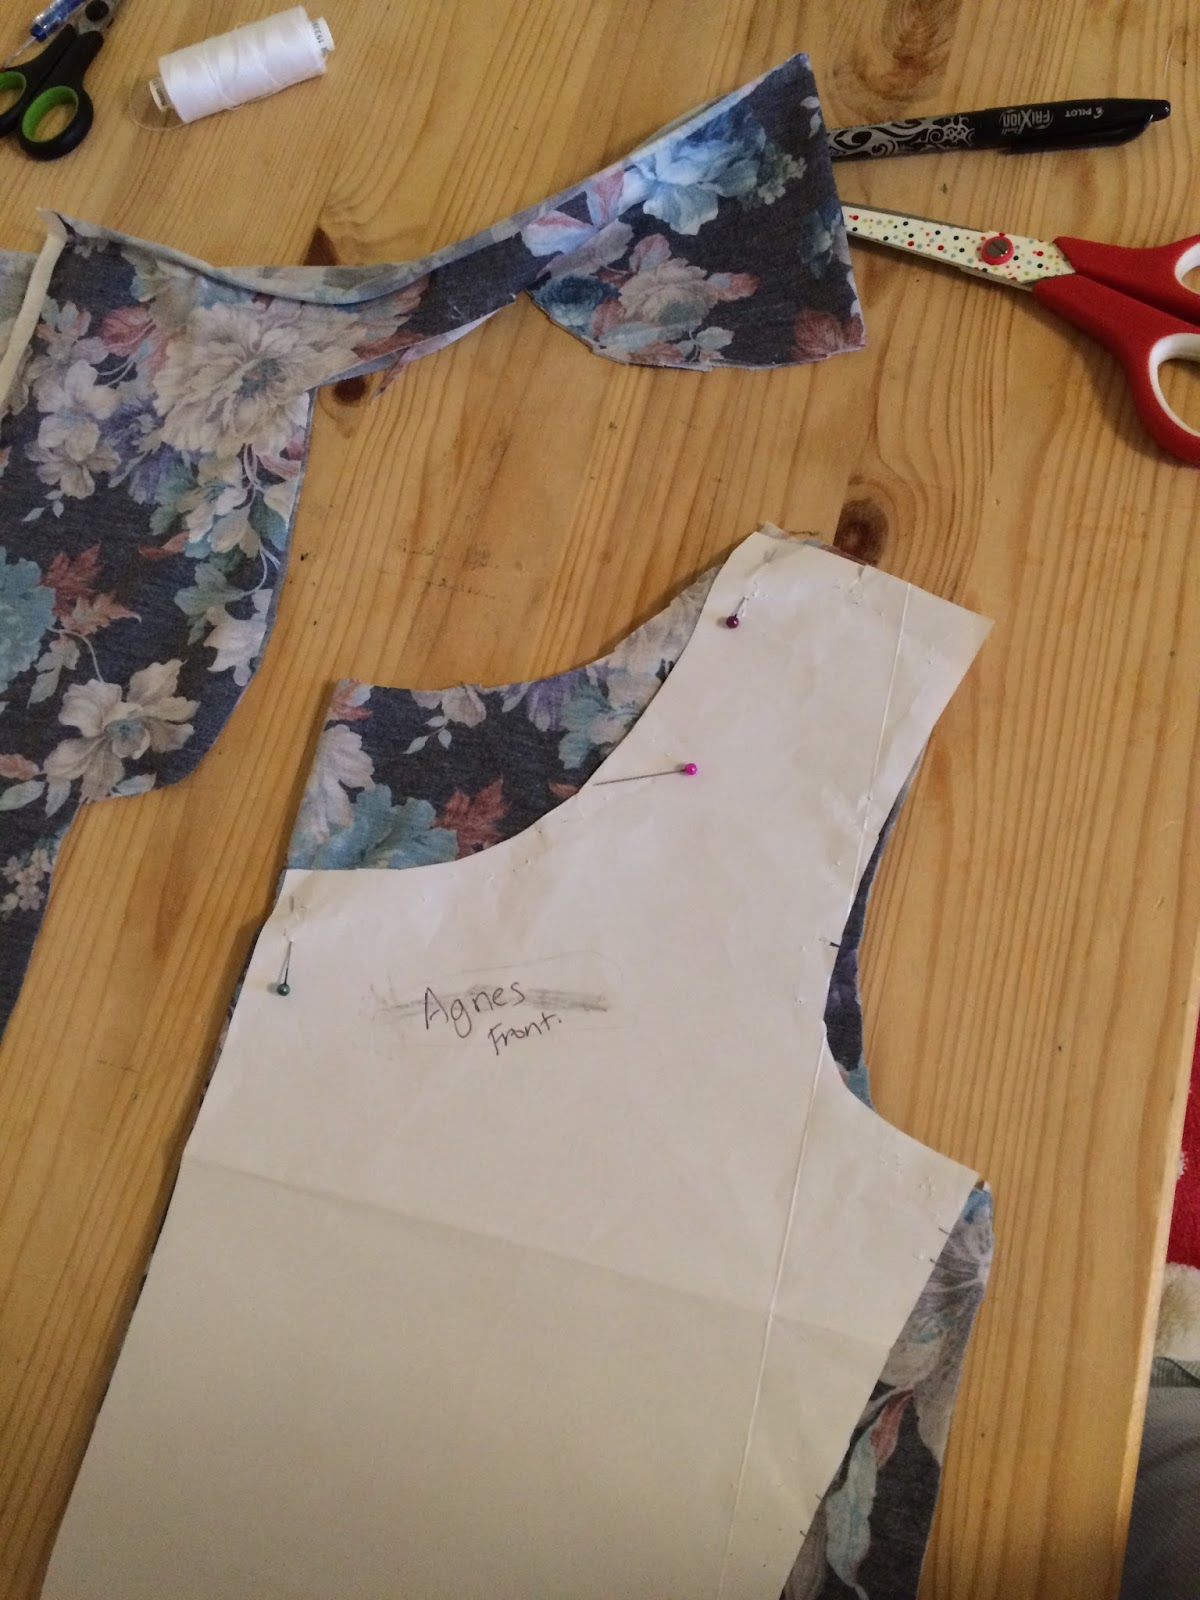
To cut out the neckline, I first used the Coco pattern for the front laying the piece on the fold of the fabric. I then flipped the cut out piece and attached the Agnes front, lining up shoulder seams and centre front.  I also cut out the neck binding piece from the Agnes pattern and followed the instructions for finishing the neckline from this pattern.


The rest of the pattern piece (back and sleeves) were all from Coco although I added two inches to the centre back piece to allow me to put in my pleat. The back piece did not need adjusting for my altered neckline as it is almost exactly the same shape as the Agnes pattern.


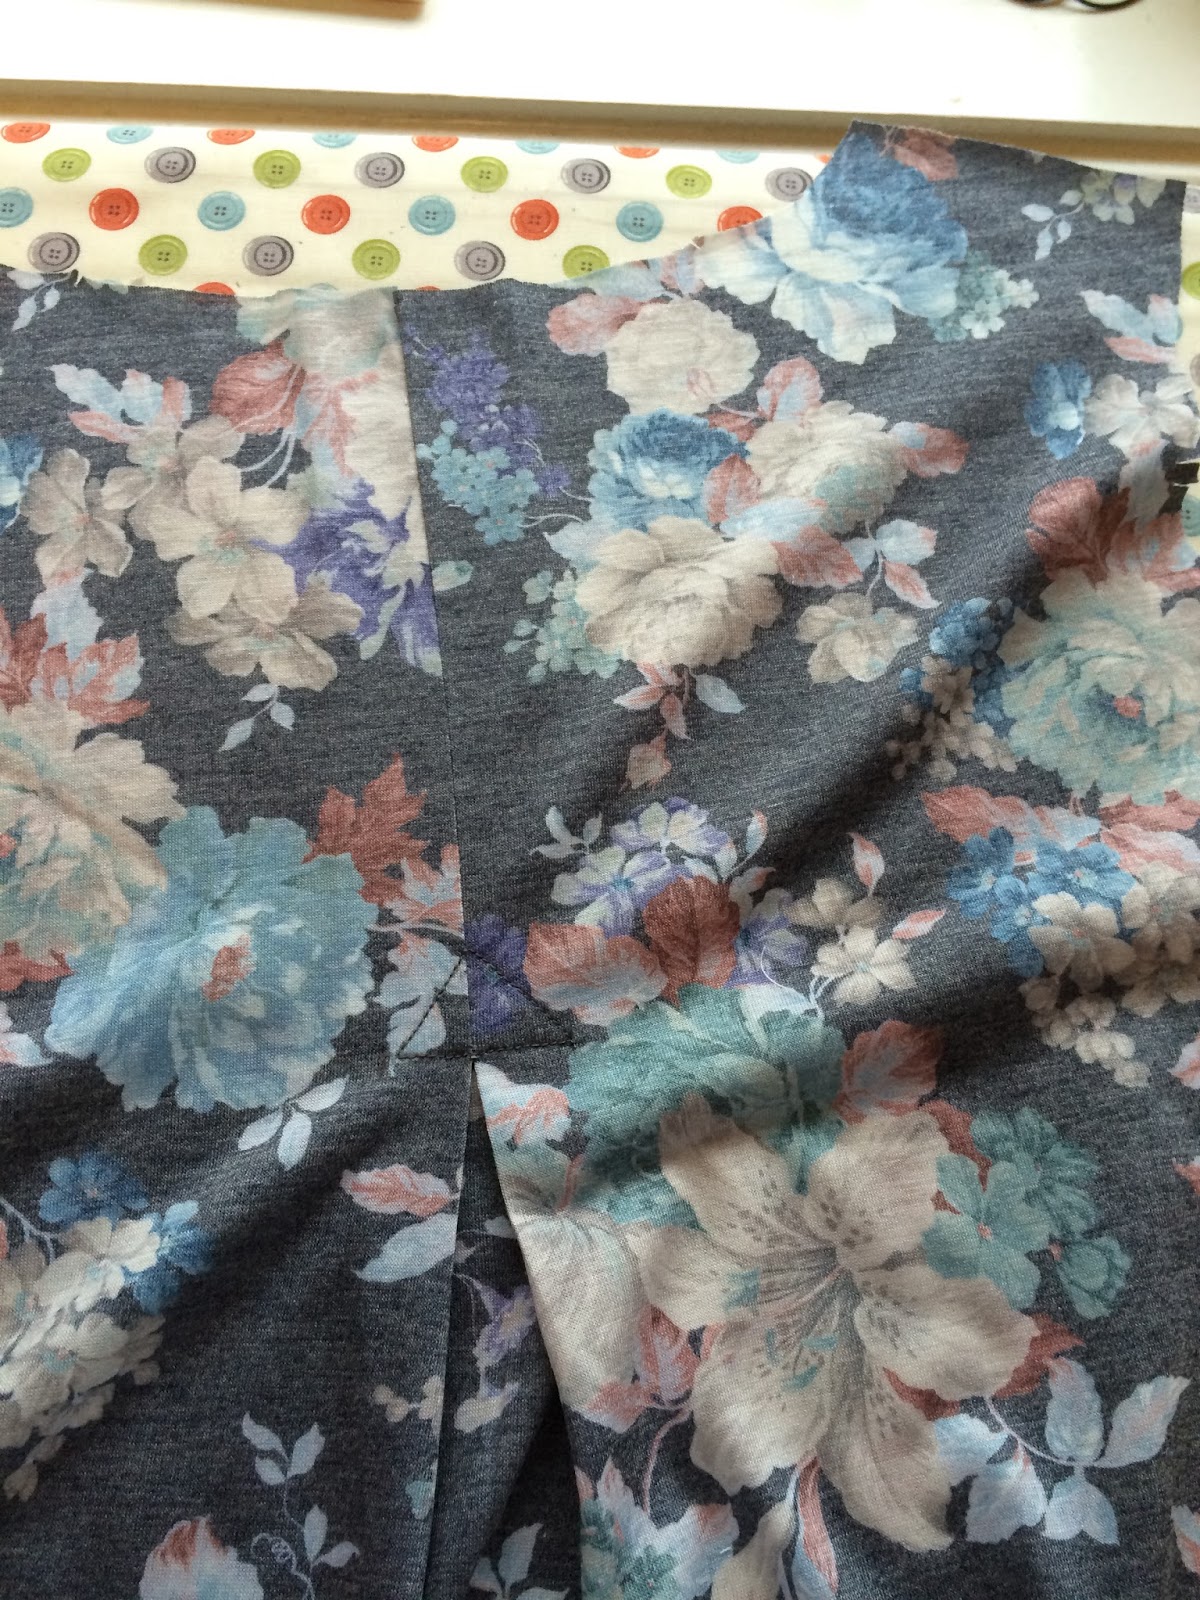
Before sewing up the top I constructed the pleat by measuring and drawing (with a magic Frixion pen) a line 2 inches from the centre back fold. I wanted my pleat to start just below the bottom of the armhole so my line was 7 inches long from the neck edge. I then stitched this line and pressed the fold open. 


 The fold was secured with a triangle of topstitching sewn from the right side of the fabric.


The rest of the top was constructed as the pattern outlined with the slight change to account for the different neck binding. I finished off the sleeves and hem with a twin needle stitch and did most of the seams on my overlocker so it went together pretty quickly and super neatly. The finished top has already been worn and washed twice  -  it's definitely a new favourite.

Coco Agnes FrontCoco Agnes Pleat back